
Table of Contents
Table of Contents
Protein‑Packed Bread
Ingredients
Equipment
Method
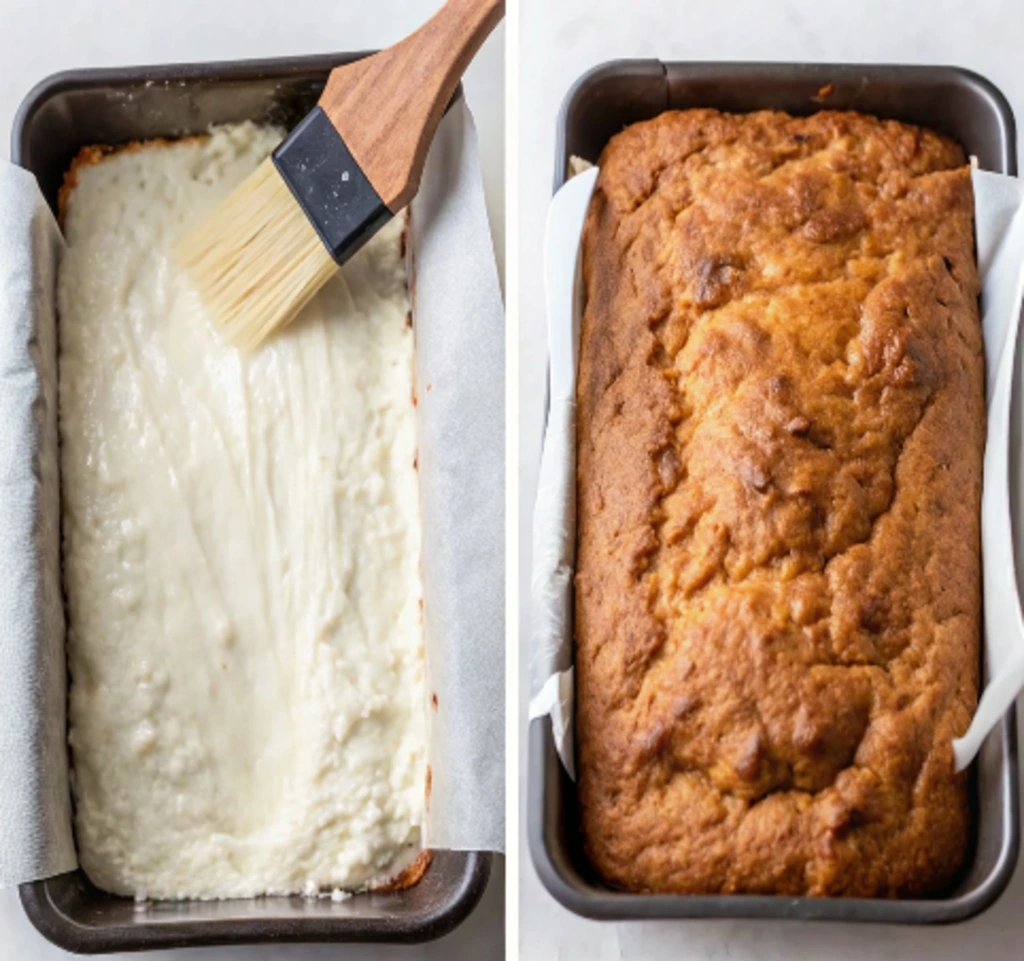
- Preheat oven to 320 °F (160 °C). Line an 8×4 inch loaf pan with parchment paper (leave overhang for lifting).
- In a clean bowl, combine the 10 egg whites and salt. Beat until stiff peaks form (use hand mixer or whisk).
- Gently fold in whey protein powder, almond flour, psyllium husk powder, and baking powder into the whipped egg whites. Be careful not to deflate the mixture.
- Pour the batter into the prepared loaf pan. Smooth the top with a spatula.
- Bake for 30 minutes, until the top is lightly golden and the loaf has risen.
- After 30 minutes, turn off the oven and crack the oven door slightly. Let the loaf remain in the cooling oven for 20‑30 minutes to prevent collapse.
- Remove from oven. Let cool completely on a wire rack. Use the parchment overhang to lift the loaf out and slice.
Nutrition
Notes
Tried this recipe?
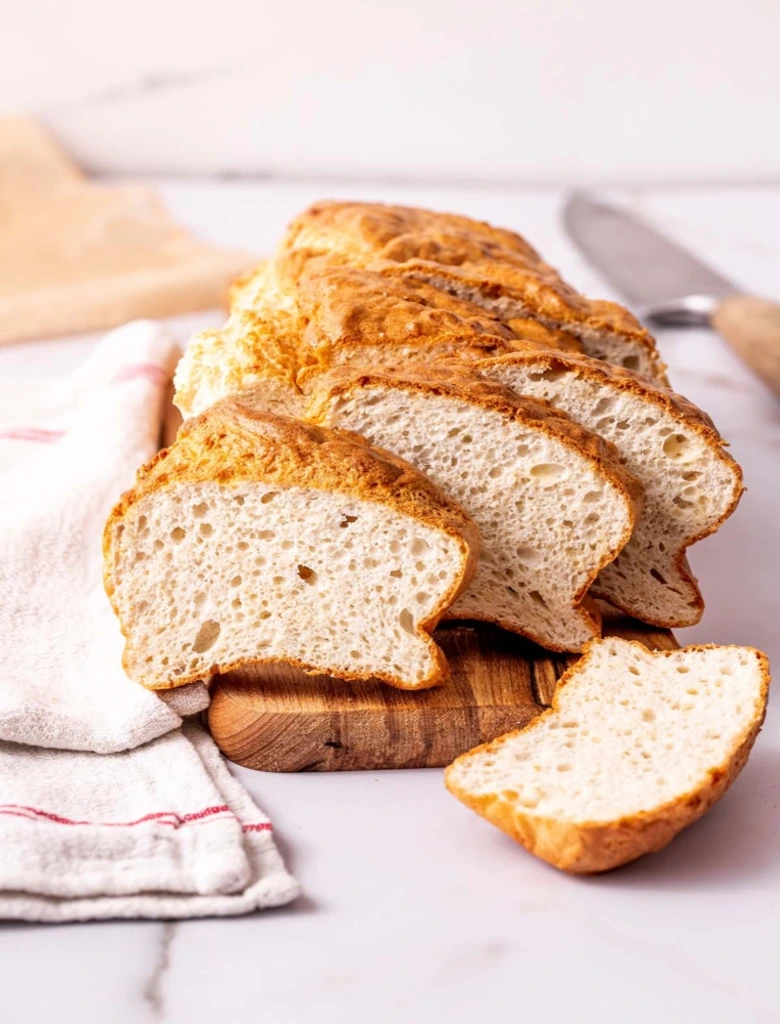
Let us know how it was!A freshly baked protein-packed bread, sliced and ready to serve.
High-protein, healthy, and incredibly filling – this Protein-Packed Bread Recipe has it all! From the moment it comes out of the oven, golden and warm, you’ll be hooked by the aroma of fresh bread (is there anything better?). I remember the first time I made this loaf on a whim one Sunday morning. Fun fact: the word “companion” actually comes from the Latin for “with bread,” reminding us how bread brings people together – and this loaf is sure to bring your family running to the kitchen. It’s a nutritious twist on a comfort food classic that proves you can have your bread and eat it too (without any guilt).
What’s even better is how simple this recipe is. No fancy equipment, no long hours of waiting for dough to rise – just mix, bake, and enjoy. It’s so easy that even on a busy weekday, you can whip it up for a protein-rich start to your day.
My kids actually thought it was our usual bread because it came out so fluffy and flavorful. Little did they know it was packed with protein and wholesome ingredients! If you’ve tried my Protein Banana Bread before, think of this as its savory cousin – just as easy and nourishing, but perfect for sandwiches and toast. By the end of this post, you’ll be ready to bake up a loaf (or two) and fuel your whole family with a smile. Let’s get started!
What Is Protein-Packed Bread Recipe?
Okay, so what on earth is a protein-packed bread? Is it a loaf that’s been hitting the gym and doing bicep curls? Not exactly – but it will help you meet your protein goals in the tastiest way possible. Essentially, this recipe takes a classic bread concept and gives it a healthy twist: we replace the usual flour-heavy base with high-protein ingredients like egg whites and whey powder. The result is a fluffy, hearty bread that’s bursting with protein goodness.
You’ve probably heard the saying, “The way to a man’s heart is through his stomach.” Well, I’d argue the way to anyone’s heart is with a delicious homemade bread! And when that bread also happens to help fuel your muscles and keep you full, it’s a win-win. This protein-packed bread isn’t just for bodybuilders or fitness buffs; it’s for busy moms, picky kids, and anyone who loves bread but also wants to eat healthy. It’s the kind of recipe that makes you nod and say, “Why didn’t I try this sooner?”
In short, a Protein-Packed Bread Recipe is exactly what it sounds like: a loaf made with extra protein to power your day. No weird taste, no cardboard texture – just real, yummy bread that secretly works overtime to keep you satisfied. Go ahead, give it a try and impress your family (and maybe even yourself) with how good healthy bread can be!
Why You’ll Love This Protein-Packed Bread Recipe
- Nutritionally Powerful & Delicious: Each slice of this bread is loaded with protein (around 10–11 grams per slice!), yet it still tastes like a treat. The texture is light and fluffy, not dry or chalky, so you get all the muscle-fueling benefits without sacrificing on taste. This means you’ll feel full and energized after eating it (science agrees that high-protein breakfasts help curb cravings). It’s basically like enjoying your favorite toast or sandwich, but with the satisfaction level turned up.
- Budget-Friendly Homemade Goodness: Making your own protein bread at home can save you some serious cash. Have you seen the price of specialty high-protein or keto breads at the store? They can be expensive! By whipping up this loaf yourself, you get a whole batch of protein-packed bread for a fraction of the cost of buying pre-made high-protein loaves or endless protein bars. Plus, you have control over every ingredient (no preservatives or mystery additives), so it’s pure, wholesome goodness. Your wallet and your waistline will both thank you.
- Unique Ingredients & Topping Versatility: This recipe uses some special star ingredients that set it apart from your usual bread. Almond flour and psyllium husk add a lovely nutty flavor and extra fiber, while whey protein boosts the protein content through the roof. These might not be in grandma’s classic bread, but they make each bite more nourishing and satisfying. The flavor of this bread is nicely neutral, which means you can enjoy it in so many ways – spread it with creamy peanut butter and banana for breakfast, smash some avocado on it for a savory snack, or even use it for french toast. Consider it your blank canvas for delicious creations, from sweet to savory, all while sneaking in more protein!
In short, this one recipe ticks all the boxes – it’s nutritious, cost-effective, and incredibly versatile. I’m pretty sure once you try it, you’ll find yourself making it on repeat!
How to Make This Protein-Packed Bread Recipe
Quick Overview: Making this protein-packed bread is a breeze. There’s no need for yeast or hours of rising time. In fact, from start to finish, you’ll have a beautiful loaf in about 40 minutes (with only around 10 minutes of hands-on prep!). The process is as simple as whipping up some fluffy egg whites, folding in the remaining ingredients, and baking. The result? A tasty, golden loaf that smells amazing and tastes like a traditional bread – you’d never guess it’s made with just a few basic ingredients and no wheat at all.
Key Ingredients for Protein-Packed Bread recipe: Below are the six simple ingredients you’ll need to make this bread. (Tip: Make sure your egg whites are at room temperature for best results when whipping.)
| Ingredient | Quantity |
|---|---|
| Egg whites (from large eggs) | 10 |
| Salt | 1/4 teaspoon |
| Whey protein powder (unflavored) | 1 cup |
| Almond flour | 1/2 cup |
| Psyllium husk powder | 1 tablespoon |
| Baking powder | 2 teaspoons |
Step-by-Step Instructions the Protein-Packed Bread recipe:
- Preheat and Prep: Preheat your oven to 320°F (160°C). Line an 8×4 inch loaf pan with parchment paper (leave a little overhang for easy removal later) and set it aside.
- Whip the Egg Whites: In a large clean bowl, combine the 10 egg whites and the salt. Beat the egg whites until stiff peaks form. You can do this by hand with a whisk (get ready for an arm workout!) or use a hand/stand mixer to make it faster. The egg whites should turn into a fluffy, cloud-like mixture that can hold a peak on the whisk.
- Fold in Dry Ingredients: Once the egg whites are whipped and voluminous, add in the whey protein powder, almond flour, psyllium husk powder, and baking powder. Gently fold these dry ingredients into the egg whites using a spatula. Take your time and use a light touch – you want to combine everything without deflating all those air bubbles you whipped in. Stop mixing as soon as it’s uniformly combined (it’s okay if the batter looks light and airy).
4.Fill the Pan: Pour the batter into your prepared loaf pan. Smooth out the top with your spatula so it’s distributed evenly. The batter will be fluffy and light.
5.Bake: Bake the bread in the preheated oven for about 30 minutes. It will puff up and turn a lovely light golden brown on top. Important: After 30 minutes, avoid sudden temperature changes – turn off the oven, and crack the oven door open just slightly. Let the bread sit in the cooling oven for another 20-30 minutes. This gentle cooling step helps prevent the loaf from collapsing (since we relied on whipped eggs for rise instead of heavy flours or yeast).
6.Cool and Serve: Remove the pan from the oven and let the bread cool the rest of the way on a wire rack. Once it’s at room temperature, lift the bread out using the parchment overhang. Now slice it up and enjoy! You’ll notice it slices nicely and holds together like a real bread loaf. Serve it fresh or toasted, and savor the fact that you just baked a protein-packed bread from scratch!
What to Serve With Protein-Packed Bread
Wondering how to enjoy your freshly baked high-protein bread? The sky’s the limit! Here are some of my favorite pairings and ideas to make each slice even more satisfying:
- Hearty Breakfast Plate: Start your day strong by toasting a slice and serving it alongside scrambled eggs or an omelette. Add a side of avocado or a smear of cream cheese for healthy fats. You’ll have a balanced breakfast that keeps you full until lunch.
- Sweet Morning Treat: If you have a sweet tooth, spread some almond butter or peanut butter on your toast and top it with banana slices or a drizzle of honey. Pair it with a hot cup of coffee or tea, and it’s like a power-packed alternative to sugary pastries.
- Protein-Packed Sandwiches: This bread makes fantastic sandwiches. Pile on some turkey or chicken breast, add lettuce, tomato, and your favorite cheese for a lunch that’s loaded with protein. Because the bread itself is high-protein, your sandwich will be super filling. Try a tuna salad or grilled veggie sandwich too – the neutral flavor of the bread works with any fillings.
- Soup or Salad Side: Serve a slice (or two) alongside a bowl of soup, chili, or stew. Dunk it in hearty vegetable soup or enjoy with a fresh salad. It turns a light meal into a more substantial one, kind of like having a dinner roll that actually contributes protein to the meal.
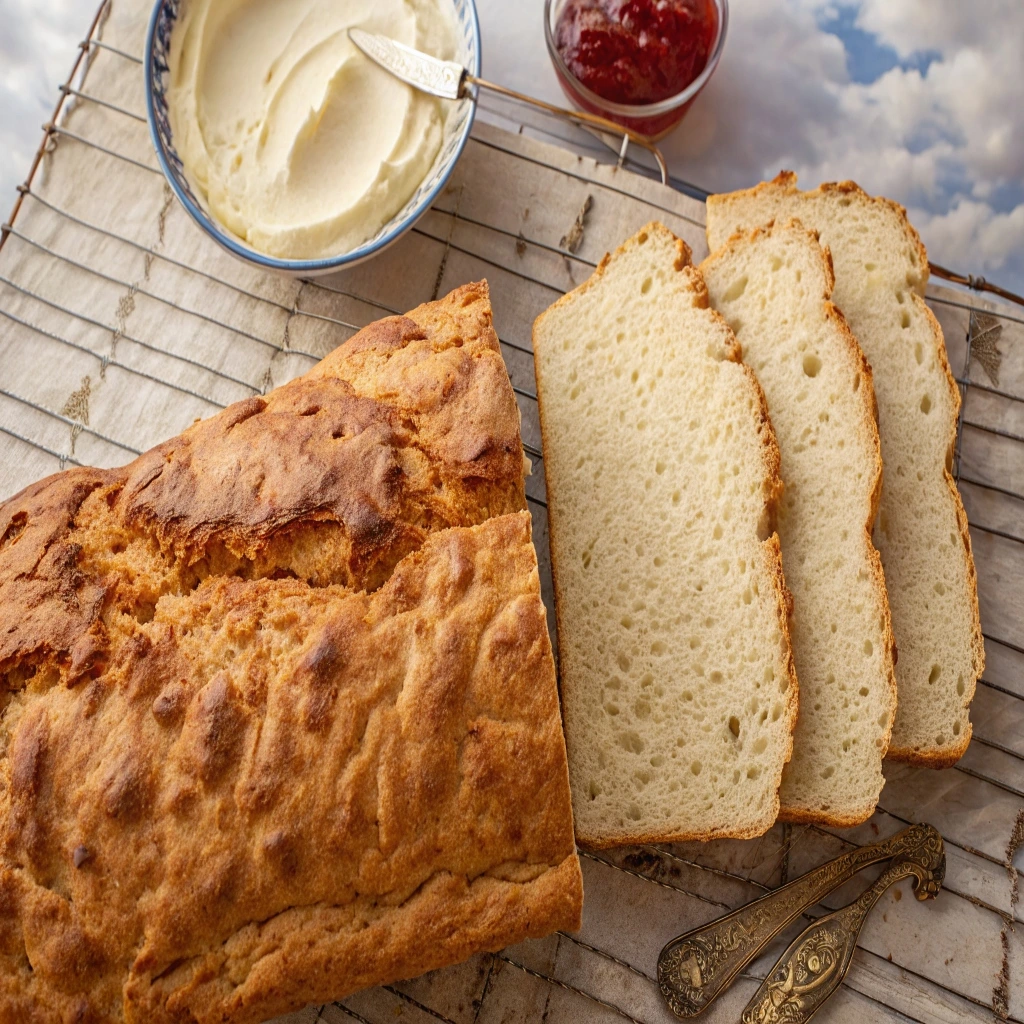
- French Toast or Dessert Twist: Yes, you can even turn this into a dessert-ish treat! Day-old slices of protein bread work great for making French toast – just dip in your egg mixture and cook as usual for a high-protein spin on a classic. You could also cube the bread and use it in a protein-rich bread pudding or trifle. Serve with some Greek yogurt or a protein shake on the side for an extra protein boost!
- Snacktime & Drinks: For a quick snack, enjoy a slice toasted with a slather of hummus or mashed avocado. It’s perfect with a bowl of yogurt on the side or a green smoothie. And of course, a simple piece of this bread with a warm cup of tea in the afternoon can be so comforting. Because it’s high in protein, it’ll keep those between-meal hunger pangs at bay.
Top Tips for Perfecting the Recipe Protein-Packed Bread
To make sure your protein-packed bread turns out perfect every time, keep these handy tips in mind:
- Use Room-Temperature Eggs: Warmer egg whites whip up faster and higher. If you can, let your egg whites sit out for a bit before beating. It’ll save you time and give a better rise.
- No Yolks, No Joke: This recipe works best with egg whites only (the yolks would make the bread heavy and less airy). If separating eggs, make sure no yolk sneaks into the whites, or they won’t whip properly. You can save those yolks for another recipe (homemade pudding or omelette, anyone?).
- Fresh vs Carton Egg Whites: While carton egg whites are convenient, they can sometimes be harder to whip to stiff peaks due to pasteurization and additives. Fresh egg whites from whole eggs tend to give a more stable meringue. If you do use carton whites, make sure they’re high quality and be patient when whipping.
- Choose the Right Protein Powder: An unflavored whey protein isolate works great here. If you use a flavored powder (vanilla, etc.), just know it might add sweetness or an aftertaste to the bread. Plant-based protein powders (like pea or rice protein) can be used as a substitute if you’re avoiding dairy – just note that the texture might be a bit different (sometimes plant proteins make baked goods slightly denser or moister).
- Don’t Overmix: When folding the dry ingredients into the beaten egg whites, be gentle and stop as soon as everything is incorporated. Overmixing will knock out all the air you whipped in, resulting in a flatter, denser loaf. Remember, it’s those fluffy egg whites that give the bread its rise, so treat them kindly!
- Proper Pan Matters: Use an 8×4 inch loaf pan as recommended. A larger pan will spread the batter out too much and give you a thin, flat bread. If you only have a 9×5 pan, the bread will still work but won’t be as tall. You might also need to adjust bake time slightly (check a few minutes earlier if the loaf is flatter).
- Line or Grease Your Pan: This bread can stick, so it’s best to line your loaf pan with parchment paper. Leave extra paper hanging over the sides so you can lift the bread out easily after baking. If you don’t have parchment, lightly grease the pan and then dust it with a bit of almond flour to help prevent sticking.
- Watch the Bake Time: Every oven is a bit different, so start checking around the 25-minute mark. The bread should be risen and just golden on top. Avoid overbaking or it can dry out. It’s okay if the top feels firm – it will soften slightly as it cools.
- Cool Slowly to Prevent Collapse: As mentioned, turn off the oven and crack the door to let the bread cool gradually. This step is key! If you pull the bread out too quickly, the drastic change in temperature can make it deflate. Patience pays off with a taller loaf.
- Flavor Boosters & Add-Ins: Think of this recipe as a base. You can jazz it up by adding extras. For a savory vibe, mix in some garlic powder, rosemary, or dried Italian herbs into the batter. Love cheese? Fold in a handful of shredded cheddar or parmesan for a cheesy protein bread. If you want a touch of sweetness, add a teaspoon of cinnamon and a packet of stevia or a spoonful of honey to the batter for a faint sweetness (great for breakfast toast). You can also sprinkle seeds or oats on top of the loaf before baking to give the crust extra texture and eye appeal.
- Add a Touch of Moisture (Optional): Because this bread is so low in fat, you might notice it’s a bit drier than regular bread. If you prefer a slightly more tender crumb, you can experiment by adding a tablespoon or two of plain Greek yogurt or a drizzle of olive oil into the batter. This extra moisture and richness can make the loaf even more enjoyable (though it will add a few calories). Don’t go overboard with liquids or fats, or the bread might not rise as well – but a small tweak can help balance the texture if you find it too lean.
- Let it Cool Completely: It might be hard to wait (the bread smells so good!), but let the loaf cool down fully before slicing. This sets the texture and prevents it from crumbling. Cutting while hot can squish the bread or make it seem wetter inside. Once cooled, you’ll get neat, clean slices.
Storing and Reheating Tips
Baking a whole loaf of protein bread means you’ll likely have leftovers (unless your family gobbles it all up on day one!). Here’s how to store it to maintain freshness, plus the best ways to reheat it:
Storing Protein-Packed Bread in the Refrigerator: Because this bread is made with perishable ingredients like egg whites, it’s best to store it in the fridge. Once your bread has completely cooled, wrap it tightly in plastic wrap or keep it in an airtight container. It will stay fresh in the refrigerator for up to about one week. (In my house, it rarely lasts that long before we eat it all!) Chilling the bread helps preserve its moisture and keeps it safe to eat.
Freezing Protein-Packed Bread for Later: This bread freezes beautifully, so don’t hesitate to make extra! The key is to freeze it properly to avoid freezer burn. I like to slice the loaf first, and then place parchment paper or wax paper between each slice – that way you can grab just a slice or two at a time. Put the slices in a freezer-safe zip-top bag, squeeze out any extra air, and freeze. It will keep well for 2-3 months in the freezer. When you’re ready to enjoy a slice, simply thaw it overnight in the fridge or pop it straight into the toaster (you may need an extra minute if toasting directly from frozen).
Reheating Protein-Packed Bread and Enjoying: The best way to reheat this protein-packed bread is to toast it. Popping a slice in the toaster brings back the lovely light crispness on the outside and warm softness inside. You can also warm it in a preheated oven (350°F for about 5-10 minutes) if you’re reheating several slices at once.
Microwaving is okay in a pinch (about 10-15 seconds per slice), but keep in mind it may make the bread a bit chewy due to the high protein content. Toasting is generally the way to go – it makes the bread taste fresh again, with a bit of crunch. Once warmed, top it as you like and enjoy just as if it were freshly baked!
With these tips in hand, you’re all set to make the Protein-Packed Bread Recipe a staple in your kitchen. I hope you enjoy baking (and devouring) this bread as much as I do. It’s a great feeling to know you’re nourishing yourself and your loved ones with something both healthy and delicious. Happy baking, and here’s to fueling your day with homemade goodness!
More recipes for Bread you try :
FAQs
1. Can I use carton egg whites instead of fresh ones?
Yes, you can use carton egg whites for convenience, but fresh egg whites generally whip better and create a more stable meringue. If using carton egg whites, ensure they are high quality and beat them thoroughly to achieve stiff peaks.
2. Can I substitute the whey protein powder with a plant-based protein?
Yes, you can use plant-based protein powders like pea or rice protein. However, they may affect the texture and rise of the bread slightly, often resulting in a denser loaf. Adjust moisture or add a little more baking powder if needed.
3. How should I store and reheat the bread?
Store the bread in an airtight container in the refrigerator for up to one week. For longer storage, slice and freeze it. Reheat slices by toasting, or warm them in a 350 °F (175 °C) oven for 5–10 minutes. Avoid microwaving for too long as it can make the bread chewy.
Printable Recipe Card
Want just the essential recipe details without scrolling through the article? Get our printable recipe card with just the ingredients and instructions.